
To sand a car bumper, you'll need some tools like a sander, sanding block, safety goggles, a dust mask, and a microfiber cloth.
First, clean the bumper and cover areas you don't want to sand with painter's tape.
Start with rough sandpaper (80-120 grit) to take off old paint. Then, switch to smoother sandpaper (400-600 grit) to make it nice and smooth.
For a shiny finish, use wet sandpaper with 1000 grit. Sand in circles and press evenly to avoid bumpy spots.
It usually takes 1 to 3 hours, depending on how the bumper looks. There are more tips to help you get better at sanding.
What tools do I need to sand a car bumper?
To sand a car bumper, you'll need a few tools.
Start with a dual-action sander for both rough and smooth sanding. Use a sanding block for spots that need a personal touch.
Wear safety goggles and a dust mask to keep dust out of your eyes and lungs. Have a clean microfiber cloth ready to wipe off dust and keep the surface clean.
Use masking tape to protect any areas you don't want to sand or damage, like nearby paint.
What grit sandpaper should I use for a car bumper?
To sand a car bumper, start with a rough sandpaper grit like 80-120. This helps get rid of old paint and deep scratches.
Next, use a medium grit, such as 220, to smooth out the surface.
Finally, use a fine grit, between 400-600, to make the bumper ready for painting or sealing.
Make sure your sandpaper fits your sander to avoid damage.
How do I prepare the car bumper before sanding?
Before sanding a car bumper, clean it well. Use an automotive cleaner and a microfiber cloth to wipe away dirt, grease, and debris. This helps make the sanding smooth. Cover nearby areas with painter's tape to keep them safe from scratches. Look over the bumper for any cracks or chips and fix these first. Make sure your workspace has good ventilation and lighting for easy preparation.
| Task | Action |
|---|---|
| Clean Surface | Wipe off dirt, grease, and debris |
| Protect Areas | Use tape to cover surrounding parts |
| Check Bumper | Find and fix any cracks or chips |
| Work Environment | Ensure proper air flow and light |
What is the step-by-step process for sanding a car bumper?
To sand a car bumper for painting:
- Choose Sandpaper: Start with 180-grit sandpaper. This helps get rid of old paint and bumps.
- Sand the Bumper: Use a sanding block. Move it in straight lines. Make sure the strokes overlap. Keep the pressure even so the surface stays smooth.
- Refine the Surface: After the initial sanding, use 320-grit sandpaper, then move to 600-grit to make the surface even smoother.
- Clean the Surface: Wipe the bumper with a damp cloth regularly. This helps you see your progress and clears away dust.
- Wet Sanding: Use 1000-grit sandpaper now. Keep the area wet while sanding to reduce friction and get a finer finish.
- Rinse and Dry: Rinse the bumper thoroughly. Let it dry completely before you start painting.
How can I ensure a smooth finish when sanding a car bumper?
To get a smooth finish when sanding a car bumper, follow these steps.
Start with sandpaper that has 320-grit to smooth out the surface. Then, use finer sandpaper like 600 or 800-grit for a smoother result. Keep your pressure steady and even to avoid making any dents or uneven spots. Move the sandpaper in circles to spread the pressure evenly and keep the surface uniform.
Check your work often with good lighting to spot any flaws. Use a sanding block to keep the surface flat, especially on bigger areas.
After you switch sandpaper, wipe the bumper with a clean, damp cloth to get rid of dust and dirt. This way, nothing will mess up the sanding as you go along.
Are there any safety precautions to take while sanding a car bumper?
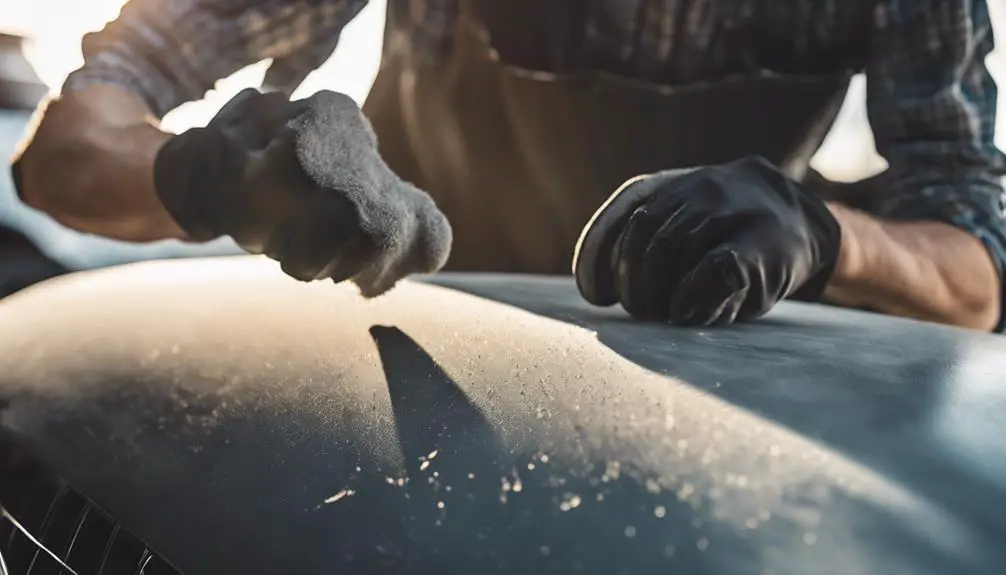
When sanding a car bumper, follow safety steps to stay safe and keep your workspace secure.
Wear safety goggles, a dust mask, and gloves to protect yourself from dust and debris. Work in a space with good airflow so you don't breathe in harmful particles. Use ear protection if you're using power sanders to protect your hearing.
Make sure the car is stable by setting the parking brake and placing wheel chocks. Keep the area tidy and free of flammable items to prevent accidents.
Check that all your tools are in good shape and use them according to their instructions.
How long does it typically take to sand a car bumper?
Sanding a car bumper takes about one to three hours. The time varies based on the bumper's size and condition.
Small, less damaged bumpers usually take less time. Larger bumpers or those with more damage may take longer.
Using power sanders can speed up the process compared to sanding by hand. The goal is to get a smooth surface, which might require more effort and time.
Should I wet sand or dry sand a car bumper?
When you need to sand a car bumper, you can choose between wet sanding and dry sanding. Each has its perks depending on what you want to achieve and the bumper's condition.
Wet Sanding:
- Good for a smooth finish.
- Less dust and fewer deep scratches.
- Water helps control and polish the surface.
Dry Sanding:
- Faster and easy to do.
- Best for removing paint in the beginning.
- Works well on big, simple areas.
Things to Think About:
- Surface Condition: Use wet sanding for finishing touches. Dry sanding fits rough, early work.
- Finish Type: Wet sanding gives a smoother look.
- Time: Dry sanding is quicker for large spots.
What are the common mistakes to avoid when sanding a car bumper?
When sanding a car bumper, you might run into some common problems. If you press down too hard, the surface may become bumpy or even get damaged. Before you start sanding, make sure the bumper is clean; dirt can cause scratches. Picking the wrong type of sandpaper can also cause issues, so choose the right grit for the job. Keep your sanding motion steady to avoid uneven surfaces. Take your time and don't rush, as speed can lead to a poor finish.
| Mistake | What Happens | What to Do |
|---|---|---|
| Pressing too hard | Bumpy or damaged surface | Use light, even pressure |
| Not cleaning first | Scratches from dirt | Clean the bumper thoroughly |
| Wrong sandpaper grit | Bad surface prep | Choose the right grit |
| Unsteady sanding | Uneven surface | Move in a steady pattern |
| Rushing | Bad final look | Take your time, be patient |
How do I know when I've sanded enough on a car bumper?
To know when to stop sanding a car bumper, look for these signs:
- Feel the Surface: Run your hand over the bumper. It should feel smooth all over, with no uneven spots.
- Check the Look: The surface should have a consistent, dull look, showing that you've sanded evenly.
- Try Some Primer: Put on a light coat of primer. If it sticks well and doesn't show any flaws, you're done with sanding.
These steps help you get the bumper ready for painting or more work.
Wrapping Up
Sanding a car bumper takes careful work and the right tools, like the right kind of sandpaper. Start by cleaning the bumper and checking it over. Follow simple steps for either wet or dry sanding. This will help you get the best results. Make sure to sand evenly to avoid mistakes. You'll know you're done when the bumper feels smooth all over.